
Waking up on a sub-zero January morning to a silent furnace and cooling pipes is every homeowner’s worst-case scenario. When a deep freeze hits across a region simultaneously, dispatch boards fill within hours, emergency overtime rates double standard fees, and parts face sudden bottlenecks.
Preparing a property for months of freezing temperatures works best when organized across three interconnected layers: internal mechanical systems, physical building structures that retain heat and block moisture, and the local services needed to keep both operating safely. Focusing on only one layer leaves costly vulnerabilities. A high-efficiency furnace cannot compensate for an uninsulated attic venting warm air through the roof, just as a weather-tight envelope still relies on maintained fuel lines and electrical circuits.
Organizing these elements before the first hard freeze shifts your household from crisis management to predictable upkeep. The roadmap below outlines what to inspect, which tasks to tackle over a weekend, and when to bring in licensed professionals ahead of peak winter demand.
Optimizing Primary Heating and Indoor Airflow Systems

Central heating equipment sits idle for months during warm weather while dust settles and electrical contacts oxidize. Firing up a neglected unit during the first cold snap often triggers ignition lockouts. Before temperatures drop below freezing, run your furnace or boiler for twenty minutes on a cool morning and listen for rattling, delayed ignition, or short-cycling. Even if the system runs smoothly, scheduling an annual tune-up with a certified heating contractor in September or early October protects both comfort and safety.
A thorough seasonal inspection covers critical diagnostics beyond swapping a standard filter:
- Heat exchanger integrity testing: Cracks in a metal heat exchanger can allow odorless carbon monoxide to leak into living spaces, making visual and camera-assisted inspections vital on older gas furnaces.
- Flame sensor and igniter cleaning: Carbon buildup on a flame sensor causes the control board to shut off the gas valve seconds after ignition, a leading cause of mid-winter no-heat calls.
- Blower motor amp-draw measurement: Checking electrical current against manufacturer specifications identifies worn bearings or failing capacitors before the motor burns out under continuous load.
- Thermostat calibration and staging checks: Verifying that smart thermostats read indoor humidity accurately and trigger auxiliary heat stages only when needed prevents runaway utility bills.
Of course, even a freshly tuned furnace struggles when conditioned air cannot circulate freely through ductwork. Over summer, pet dander, construction dust, and pollen settle inside trunk lines, while rugs or furniture block cold-air returns. Restricted airflow forces blower motors to work harder, overheats heat exchangers, and leaves upstairs bedrooms colder than main living areas.
Vacuum floor registers and keep furniture several inches clear of vents. Stock up on pleated MERV 8 to MERV 11 filters to swap every thirty to sixty days. If you notice dust plumes when the blower starts, musty odors from registers, or uneven heating after renovations, vet reputable duct cleaning companies certified by the National Air Duct Cleaners Association (NADCA), request before-and-after trunk-line camera footage, and avoid flat-rate coupons that rely on upsells rather than proper negative-air equipment.
Securing Winter Fuel Reserves and Off-Grid Energy Supplies
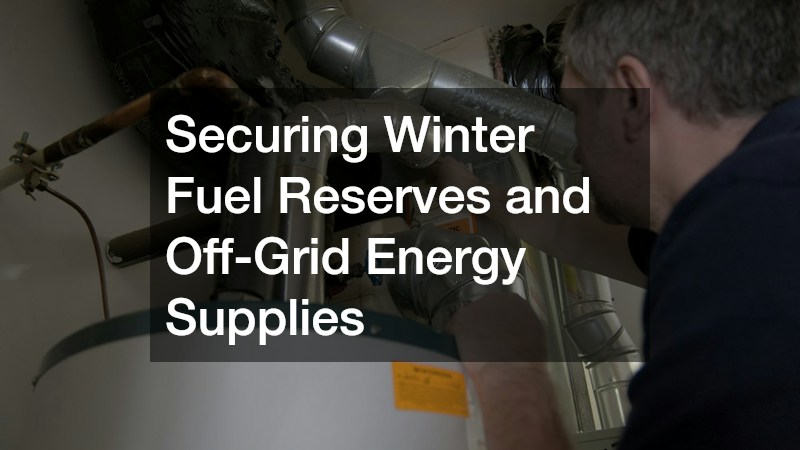
Homes relying on delivered fuels face distinct logistical risks during severe storms, when icy roads and regional cold snaps can delay delivery trucks for days. Waiting until a tank gauge dips near empty to request a refill is a gamble during peak winter months. Enrolling in automatic delivery through established heating oil services removes guesswork from fuel management. Most providers use degree-day tracking software that calculates burn rates based on outdoor temperatures, historical usage, and tank capacity, dispatching a driver automatically when supply reaches one-quarter full.
Before your first autumn delivery arrives, inspect your storage setup to prevent leaks or delivery refusals:
- Check tank seams and legs: Examine the underside of indoor basement tanks and outdoor steel tanks for rust flaking, wet spots, or fuel odors indicating internal corrosion.
- Test the vent alarm whistle: Drivers rely on the audible whistle from the exterior vent pipe to know when a tank is nearly full; if silent, a driver may refuse to pump fuel to prevent a spill.
- Treat exposed outdoor tanks: For tanks located in unheated areas, ask your supplier about winterized fuel blends or cold-flow additives that prevent paraffin wax from gelling in sub-zero weather.
- Review pricing structures: Compare pre-buy plans, capped-price contracts, and market-rate billing early to lock in predictable budgeting before cold weather drives wholesale spikes.
Alongside primary heating fuel, many properties rely on auxiliary gas reserves requiring their own pre-winter audit. Whether your home runs entirely on propane gas or uses a dedicated tank for standby generators, kitchen ranges, wall heaters, or vented fireplaces, autumn is the time to inspect exterior connections. Check the percentage on the tank dial gauge, remembering that aboveground tanks are filled only to eighty percent capacity to allow thermal expansion.
Clear leaves and brush around the tank for unobstructed hose access, and verify that the protective valve hood closes tightly so freezing rain cannot ice over the regulator vent. Trace copper or coated supply lines entering your foundation for kinks or rubbing against siding, and schedule a pressure test if any appliance has sat unused since spring.
Fortifying Hot Water and Electrical Infrastructure Against Heavy Loads
Winter strains household utilities as incoming groundwater drops twenty to thirty degrees and shorter days increase electricity demand. Because municipal or well water enters much colder in winter, your water heater runs longer cycles to reach a 120-degree setpoint. Mineral scale at the tank bottom insulates water from the heat source, forcing the unit to overheat, waste fuel, and wear out early.
Perform basic preventative upkeep each autumn and watch for early failure signs:
- Drain sediment from the tank: Connect a garden hose to the bottom drain valve, route it to a floor drain or exterior grade, and flush two to three gallons until water runs clear of grit.
- Test the temperature-and-pressure relief valve: Lift the brass lever on the tank briefly to verify water discharges freely through the overflow pipe and snaps shut without dripping.
- Inspect the sacrificial anode rod: On tanks older than five years, checking the magnesium or aluminum anode rod reveals whether the tank lining remains protected against internal rust.
- Watch for warning signs: Rumbling sounds during heating cycles, lukewarm showers, or rusty moisture pooling around the base pan mean you should book professional water heater repairs before a corroded tank ruptures indoors.
Protecting plumbing works hand in hand with preparing your electrical system for winter outages and heavy seasonal loads. Winter ice storms and heavy snow frequently bring down tree limbs onto overhead power lines, leaving neighborhoods dark for days. Never plug a portable generator directly into a wall outlet—a hazardous practice called back-feeding that can electrocute utility workers and destroy household wiring. Instead, hire licensed electricians to install a manual transfer switch or an automatic standby transfer panel paired with a weatherproof exterior inlet box.
Also have them evaluate circuit capacity for winter loads. Portable electric space heaters draw roughly 1,500 watts—nearly an entire 15-amp residential circuit—and sharing circuits with electronics or holiday lights regularly trips breakers. Verify that garage, basement, and exterior ground-fault circuit interrupter (GFCI) receptacles trip and reset properly so melting snow never compromises safety.
Sealing the Building Envelope and Upgrading Thermal Barriers

Heating equipment and fuel reserves only perform as well as the thermal envelope containing them. Through the stack effect, warm air rises and escapes through ceiling gaps, pulling freezing outdoor air inward through basement cracks. Escaping heat inflates utility bills and warms your roof deck, melting snow from beneath. Meltwater refreezes at unheated roof eaves into thick ice ridges that trap water under shingles and cause ceiling leaks.
Adding insulation alone without stopping air movement rarely solves the issue because warm air passes easily through fiberglass batts. Bringing in an experienced attic insulation contractor lets you address air leaks and thermal resistance together. Before blowing in loose-fill cellulose or fiberglass to meet cold-climate R-value targets (typically R-49 to R-60), a crew should seal top wall plates, plumbing vent stacks, electrical penetrations, and chimney chases with fire-rated foam or sheet metal flashing. Cover older, non-insulation-contact (non-IC) recessed lights with airtight fire-rated boxes—or install sealed LED retrofits—and glue rigid foam board to the back of the attic hatch with perimeter weatherstripping.
Once your upper ceiling plane is air-sealed, address the lower perimeter where concrete foundations meet wood framing. Uninsulated basement rim joists leak substantial cold air and let indoor humidity condense on cold wood. Measure your basement perimeter and visit a local insulation supplier for two-inch rigid XPS or polyiso foam board, canned spray foam, mineral wool batts, and closed-cell foam pipe sleeves so you can complete these high-return upgrades over a weekend:
- Insulate rim-joist bays: Cut rigid foam squares slightly smaller than each joist cavity, press them flush against the outer rim board, and seal all edges with low-expansion spray foam before tucking mineral wool batts in front.
- Sleeve vulnerable water pipes: Wrap foam insulation tubes tightly around copper and PEX supply lines running through unheated crawlspaces, garages, or exterior utility chases, taping every seam.
- Winterize exterior spigots: Close interior shutoff valves leading to outdoor hose bibs, open exterior faucets to drain trapped water, and snap insulated foam covers over each spigot.
Weatherproofing Exterior Structures and Mechanical Entryways
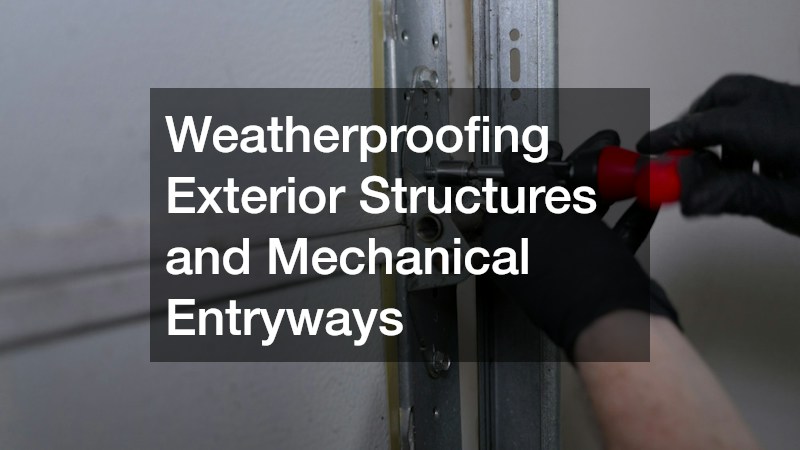
Your exterior shell absorbs relentless freeze-thaw cycles and heavy snow loads, turning small autumn gaps into active water leaks once ice expands inside cracks. Water expands roughly nine percent when frozen, wedging open hairline fractures around roof penetrations and chimneys. Use binoculars from ground level after windstorms to scan your roofline for curled shingle tabs, missing mineral granules, lifted ridge caps, or rusted chimney flashing. Addressing minor roof repairs in October or November ensures asphalt shingles and elastomeric sealants have warm enough daytime temperatures to bond properly before winter storms arrive.
Pair roof checks with drainage cleanup so meltwater flows unobstructed away from your foundation:
- Scoop matted leaves from gutters: Wet foliage freezes into solid ice blocks that weigh down hangers and force meltwater over the back edge onto fascia boards.
- Flush downspouts with a garden hose: Confirm water exits freely at ground level and verify that extensions carry runoff at least five feet away from basement walls.
- Trim overhanging tree limbs: Cut back dead or heavy branches hanging over roof planes and service wires before ice accumulation snaps them onto your home.
Beyond the roofline, attached garages act as unconditioned thermal buffers; if the overhead door leaks air or jams, freezing temperatures bleed into adjacent rooms and bonus spaces above. Cold weather also stiffens old grease on rollers and increases tension on aging springs.
Inspect your overhead door while closed on a sunny day—slivers of daylight along the bottom or sides represent direct drafts. Schedule preventative garage door repairs if you spot frayed steel lift cables, cracked nylon rollers, bent tracks, or an unbalanced door that slams shut when disconnected from the opener. For routine upkeep, pull the emergency release cord to test smooth manual lifting, wipe tracks dry, apply silicone lubricant to hinges and bearings, and replace cracked bottom rubber astragals and perimeter weatherstripping. Finally, place a wooden block on the threshold to confirm auto-reverse safety sensors immediately lift the door upon contact.
Breaking winter preparation into a clear autumn timeline keeps the workload manageable and prevents last-minute scrambling when the first storm warning hits your forecast. Start in early autumn, between September and October, by booking specialist inspections for your heating equipment, chimney, and roof while technician schedules remain flexible, and complete exterior drainage and gutter cleaning before fallen leaves freeze solid.
As temperatures cool in mid-autumn from October into November, dedicate a weekend or two to hands-on weatherproofing projects. Air-seal attic bypasses, insulate basement rim joists, sleeve exposed plumbing lines in unconditioned spaces, flush sediment from your water heater, and replace worn perimeter seals on overhead garage doors before the first hard freeze arrives.
By late autumn in November and December, shift your focus to final operational readiness. Confirm automated fuel delivery enrollment, test generator transfer switches under load, stock up on furnace filters and pet-safe ice melt, and verify that snow removal equipment starts reliably. Keep a digital folder or physical binder with equipment model numbers, filter sizes, shutoff locations, and emergency dispatch numbers so anyone in your household can act quickly during an outage or leak. Investing a few organized weekends into your home’s mechanical systems, structural envelope, and service partnerships transforms winter from a season of costly surprises into months of reliable warmth, lower energy bills, and genuine peace of mind.


